Scribe Animator Director on Codex: get started

Scribe Animator Director is now available as a Codex plugin. You can ask Codex to help turn a brief into an editable Scribe animation, then keep refining the actual text, drawings, timing, and camera in the editor.
Open the Scribe Animator Director plugin listing to get started. This guide walks through installation and a small first project: a ten-second scene that introduces three steps—Brief, Build, Refine. You can also download the finished native project and inspect how it works.
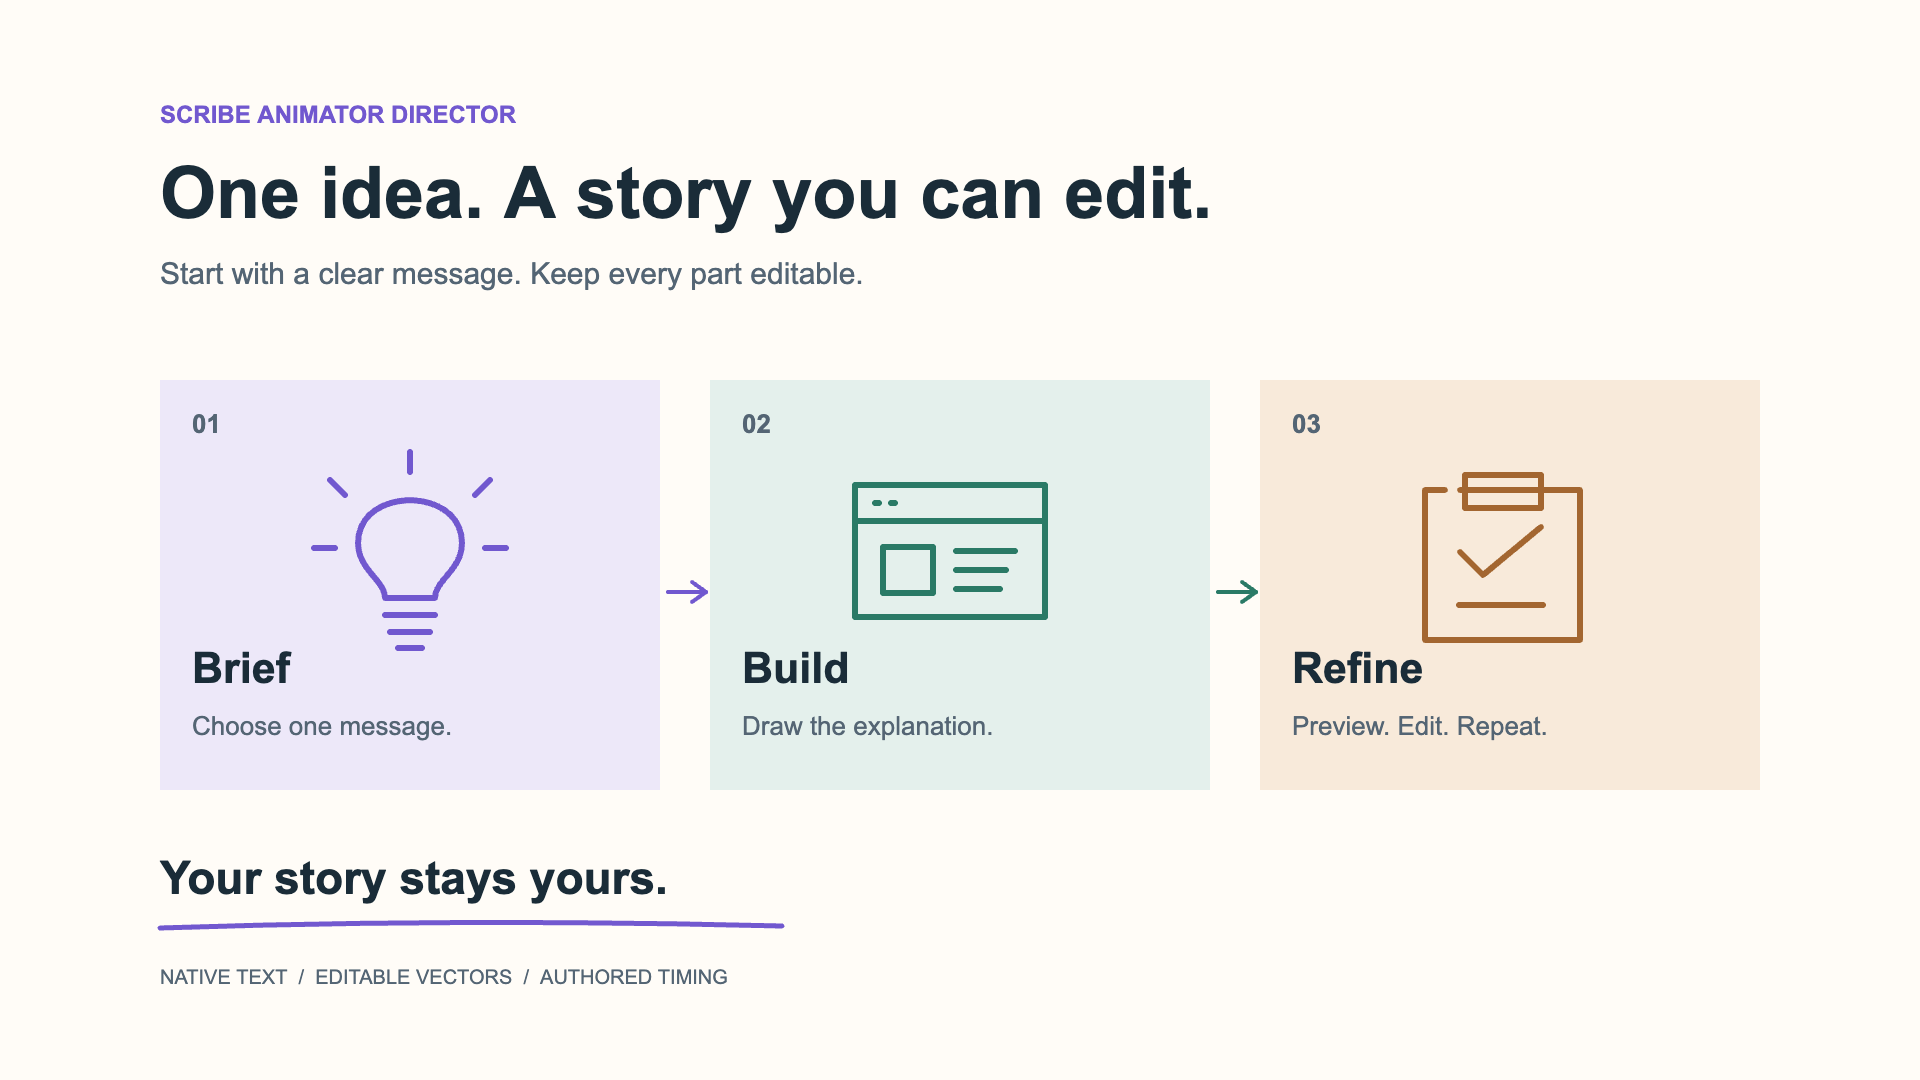
An actual Scribe project-frame capture at 9 seconds. The text, cards, illustrations, arrows, and underline remain separate objects.
What the plugin helps you do
Director gives Codex a Scribe-specific authoring workflow: plan a readable scene, choose supported native objects, coordinate motion, validate structured data, and check the result. It can help create and revise scenes, projects, or reusable blocks.
The useful difference is the handoff. A heading remains text you can rewrite. A vector illustration remains selectable. The entrance timing and camera stay authored in Scribe. A rendered video is a delivery copy; the editable project is still yours to change.
Director supports two routes:
| Route | What happens | What you need |
|---|---|---|
| Live Site tools | Codex discovers the open editor's capabilities and uses supported actions to inspect and edit the visible project. | A compatible built-in browser session with Scribe Site tools actually available. |
| Validated AI JSON | Codex prepares a self-contained template JSON file and runs the bundled validator. You import and review it in Scribe. | The enabled skill; Node 22 or 24 and file execution for offline validation; access to Scribe for import and preview. |
Installing this plugin supplies the skill and its references and validator. It does not install a remote MCP server or grant browser access. If live tools are unavailable, the JSON route still gives you an editable draft. For background, read AI agent editing with WebMCP Site tools.
1. Find and install Director
Open Plugins in a supported ChatGPT or Codex surface. Search for scribe animator, then open Scribe Animator Director. Confirm the developer is Ohotech Solutions Private Limited.

The actual search screen supplied for this guide. Type “scribe animator” in the Plugins search field.
If you have not installed it, use the installation action on its listing. The public listing currently labels that action Install plugin; OpenAI's directory instructions describe a plus button. Follow the action presented by your client, then start a new Codex chat so its bundled skill becomes available. See OpenAI's plugin installation guide for the current supported surfaces.
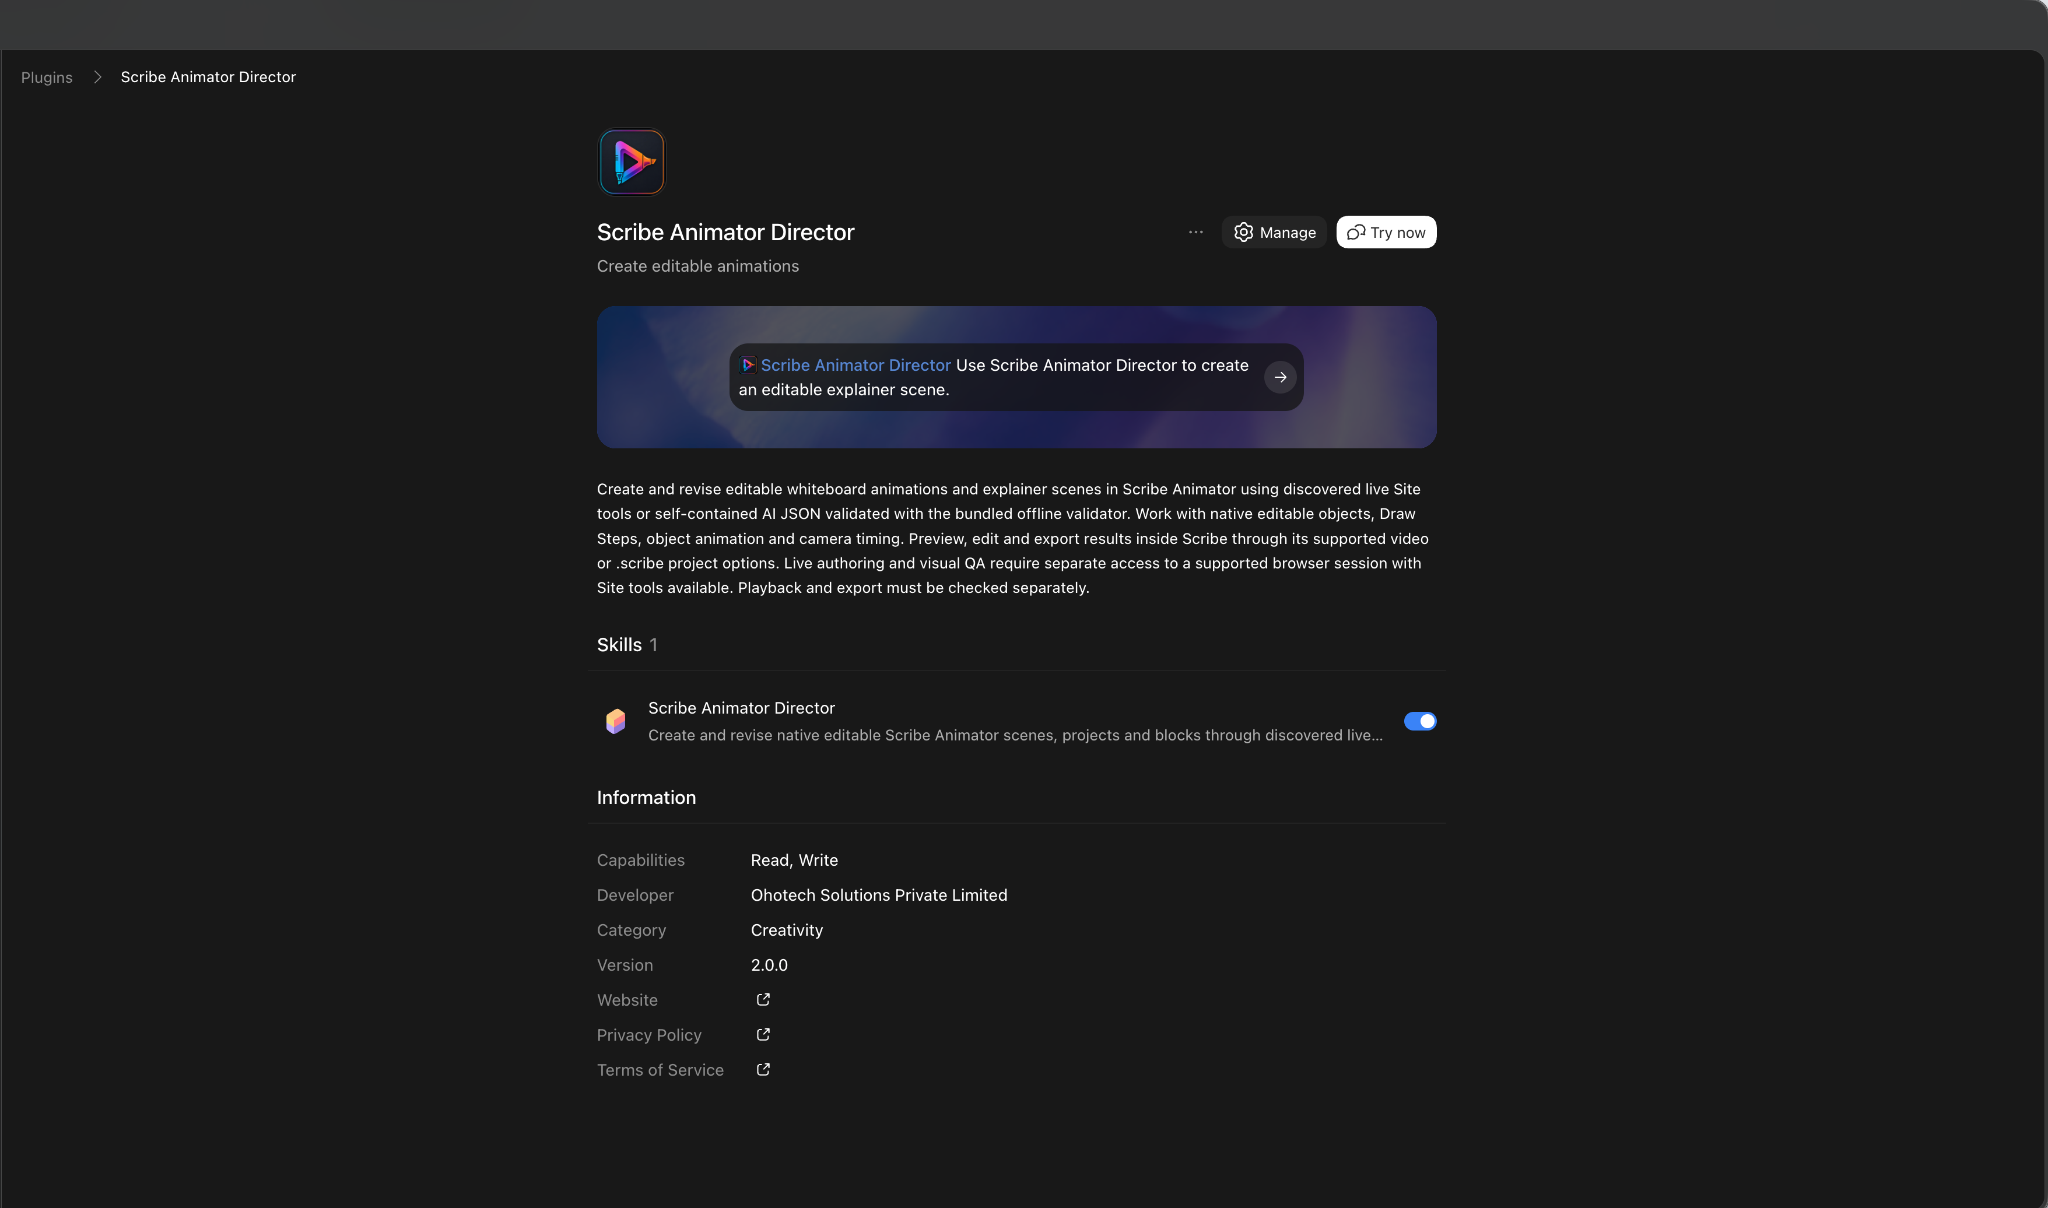
This screenshot shows an already-installed plugin, version 2.0.0. Manage manages that installation; it is not an install button. Open the original screenshot at full size. The blue switch in the Skills section shows the Scribe Animator Director skill enabled. Try now is the action shown in this captured client.
On your detail screen, check that the Director skill is enabled. If it is off and your workspace allows changes, turn its switch on. Start a new chat and explicitly name Scribe Animator Director in your request. You can also use your client's plugin or skill picker when available.
You do not need to clone Scribe's source repository to use Director.
2. Prepare Scribe and check access
Open Scribe Animator and use a new, empty project for this tutorial. Keep an editable backup of anything important before importing into an existing project.
For the live route, open Scribe's top-level editor page in the desktop app's built-in browser. In the browser address bar, open Site tools, then Available site tools. The page must expose Scribe tools to the current session. A plugin listing, public embed, or screenshot of the editor is not that live editor.
OpenAI currently documents Site tools for the latest desktop app, with model, rollout, and workspace restrictions. Its Site tools guide names GPT-5.6 Sol and GPT-6 Sol, requires Enterprise policy approval, and excludes Edu workspaces. It does not establish GPT-6.1 Sol compatibility. Verify the tools in your actual session; plugin installation alone is not proof of access. The documented permission control is Settings → Browser → Permissions → Enable site tools.
Start with this read-only prompt:
Use Scribe Animator Director. Inspect the open Scribe editor without
changing anything. Tell me the current project, active scene, and
whether you can discover its Site tools. If you cannot, say so and
offer the validated AI JSON workflow.
Confirm that Codex identifies the project you intended. If it sees a different project, correct the context before editing. If no tools appear, continue with step 4 below.
3. Make one small scene
Our example explains a simple process instead of trying to demonstrate every feature. The composition is 1920 × 1080, with warm white space, dark text, three colored cards, and self-contained line illustrations.
Its ten seconds have a clear job:
| Time | What the viewer sees |
|---|---|
| 0–1 s | The headline and supporting message appear. |
| 1–3 s | Brief enters; a lightbulb draws on and an arrow leads onward. |
| 3–5 s | Build enters; the small editor illustration draws on. |
| 5–7 s | Refine enters; a checklist draws on. The camera gently moves closer. |
| 7–10 s | The camera returns, the takeaway and underline appear, and the finished composition holds. |
Paste this brief into your new Codex chat:
Use Scribe Animator Director to make one editable 10-second scene
in my new, empty Scribe project, 1920 x 1080.

Message: "One idea. A story you can edit."
Supporting line: "Start with a clear message. Keep every part editable."

Use three spacious cards from left to right:
1. Brief — "Choose one message." A simple line-drawn lightbulb.
2. Build — "Draw the explanation." A simple editor-window drawing.
3. Refine — "Preview. Edit. Repeat." A simple checklist drawing.

Use a warm off-white background, dark navy Arial text, and muted
purple, green, and amber cards. Keep text as native text and each
card, illustration, arrow, and underline separately editable.
Use self-contained vector paths, with no external media.

Reveal the cards in sequence. Use Draw In for the illustrations and
connecting arrows. Add a gentle camera push that keeps every label
inside the frame, then return to the wide composition. Finish with
"Your story stays yours." and a drawn underline. Leave time to read.

First confirm the project and discover the available capabilities.
Use supported reversible edits and respect any confirmation requests.
If live tools are absent, give me canonical validated scene AI JSON
for manual import instead. Report validation, frame review, playback,
native save/reopen, and video export separately. Do not claim checks
you have not performed.
This is a starting brief, not a promise of identical pixels on every run. Ask Codex to show you the scene and explain any unsupported part. It should use the current editor's capabilities and input contracts, not invent an operation because it sounds plausible.
Open the worked example
You can explore the exact result used in this guide:
- Download the native editable .scribe project.
- Download the canonical scene AI JSON for Import AI JSON.
For the native file, use File → Import .scribe in Scribe. Read any replacement or unsaved-work confirmation before proceeding. For the JSON file, use the separate route in the next step. Renaming JSON to a .scribe filename does not create a native package.
4. Use AI JSON when live tools are unavailable
Ask Codex:
Use Scribe Animator Director to prepare the scene brief above as a
self-contained canonical scene TemplateEnvelopeV1 JSON file.
Use schemaVersion 1 and scene-local-v1 timing. Run the bundled
offline validator and fix errors and material warnings.
Give me the file and its validation result. Mark browser preview,
playback, save/reopen, and video export NOT_RUN until actually checked.
Codex needs Node 22 or 24 and permission to run local files for the offline check. The packaged command is:
node <installed-skill>/scripts/validate.mjs scene.json
Ask Codex to locate its installed skill directory; do not copy another person's absolute path. A passing result establishes structural and import-preflight checks. It does not show what the animation looks like or prove that an export works.
In Scribe:
- Open File → Import AI JSON.
- Choose the generated JSON file, or paste its contents using the dialog's available input.
- Run Validate JSON. Read the scene count, duration, errors, warnings, and asset dependencies.
- For a scene envelope, use Add as New Scene to append it. Use a replace option only when you intend to replace that scene and have saved the current work.
- Select the imported scene and preview it from its beginning.
If you already downloaded the native example, import that through Import .scribe, not through Import AI JSON. The formats serve different purposes. The AI JSON template guide explains the import contract and the differences between scene, project, and block envelopes.
5. Preview, then make a real revision
Play the scene from zero. Check the moments before, during, and after each illustration draws. Scrub backward and forward. Read the labels at normal speed, check the final hold, and watch whether the camera clips anything.
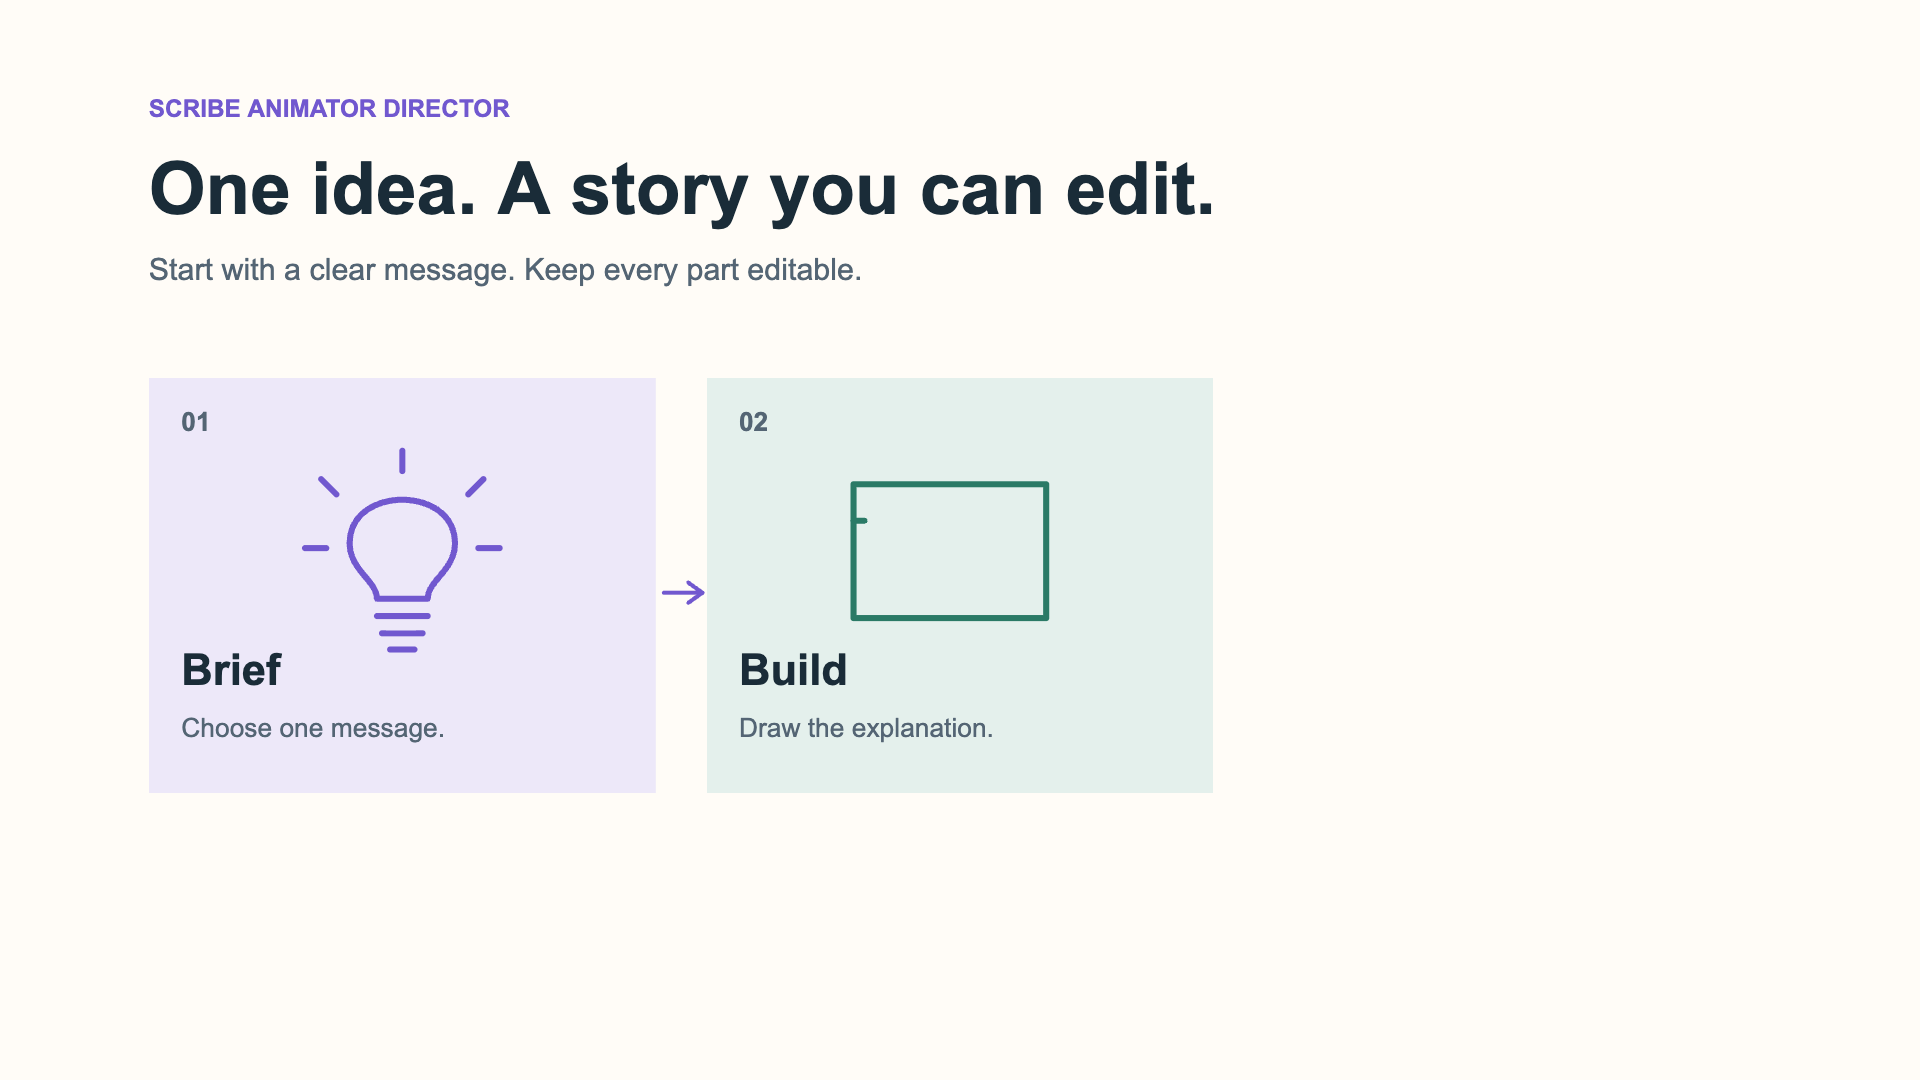
An actual project-frame capture at 3.9 seconds. This is a motion checkpoint, not a static substitute for checking playback.
Try a narrow revision:
Change only the Refine card's supporting line to
"Review. Adjust. Repeat." Keep its native text editable and preserve
the other copy, illustration timing, and camera. Preview the changed
scene and confirm the new line fits.
Select the changed text in Scribe and inspect it yourself. If live tools are missing, ask for a revised JSON file and import it into a saved copy. An instruction to revise JSON does not silently edit the project already open in the browser.
A second useful request is: “Give the final message one extra second to read, update the scene duration accordingly, and check the ending again.” Specific feedback is easier to verify than “make it better.”
6. Save the editable project and export a delivery copy
Use File → Save Locally for a checkpoint in this browser. For a portable editable backup, choose File → Export .scribe and keep the downloaded package intact. Reopen it with File → Import .scribe, then check the text, illustrations, duration, and camera again. A local saved-status label alone does not establish a portable round trip.
For a video, choose Export Video (MP4) in the top-bar exporter selector, then Export. Check the effective resolution and frame rate, keep the tab open while it renders, download the result, and play the saved file outside the editor. Plan limits and device encoder support still apply.
The current video dialog exposes MP4 (H.264). Do not expect SVG or WebM in that download menu. See Choose and verify an export for the distinction between a video, a native package, and template JSON.
What we actually checked
This worked example was authored for this guide on 16 October 2026, using Director 2.0.0 contracts and Scribe's current Desktop web editor. It contains one 10-second scene and 23 native objects, with no external media dependencies. It uses Arial, so typography can vary slightly across systems.
The scene passed the bundled canonical validator and the app validator without warnings. It was built through supported editor capabilities in an isolated local browser project, and its exact frames and normal playback were reviewed. These checks demonstrate this example; they are not a fresh-install test or a guarantee that every Codex client can reach the browser.
| Check | Result for the downloadable example |
|---|---|
| Offline canonical validation | PASS, no errors or warnings. |
| In-app canonical validation | PASS, no errors or warnings. |
| Composition diagnostic | Ran on all 23 objects at 9 seconds; no review signals. Its geometric checks do not replace visual review. |
| Exact-frame review | PASS at entrance, mid-draw, completion, camera, and final-hold checkpoints. |
| Normal playback | PASS from 0 to 10 seconds in the Desktop web editor. |
| Native save and reopen | PASS: exported through File → Export .scribe, then reopened through File → Import .scribe in a separate empty browser origin; 23 objects and four camera keys retained. |
| MP4 export | PASS: saved H.264 file, 1280 × 720, 30 fps, 10.00 seconds. The tested free-plan output retains its watermark. |
The actual exported preview. Use the controls to watch the drawing sequence and camera move; the native download above preserves editability.
If something does not work
| Symptom | Practical next step |
|---|---|
| Director is installed but Codex does not use it | Check the skill switch, start a new chat, and name Scribe Animator Director explicitly. Confirm it appears among available skills. |
| No Site tools appear | Check the top-level editor tab, built-in browser, permission setting, model, rollout, and workspace policy. Use validated JSON if access is unavailable. |
| The wrong project is identified | Stop edits, select the intended project/tab, and repeat the read-only context check. |
| JSON validation reports errors | Give Codex the exact diagnostics. Repair the file and validate again. Do not change the schema version merely to suppress a mismatch. |
| JSON passes but motion is missing | Read import warnings about skipped lanes or adjusted timing, then inspect the imported timeline. Check scene-local timing and whether two controls compete for the same property. |
| An asset is missing or marked red | Ask for supported self-contained vectors or verified assets, then revalidate and preview. An invented asset ID is not a usable dependency. |
| A tool requests confirmation, is denied, or becomes unavailable | Respect that result. Check the current project state before retrying an uncertain operation. Do not bypass it with page scripts. |
| Saving or exporting fails | Keep the current project open, make a local checkpoint where possible, and inspect the actual error. Check downloads, storage, entitlements, and device export support before trying again. |
Start with this one scene, make one visible revision, and keep the editable file. Once that cycle works, you have a practical foundation for longer explainers: a clear brief, native scene structure, deliberate motion, and a result you can continue editing.